If you happen to be located in the South, you know that “spring” means a few weeks of blissful 72 degree weather that is suddenly followed by 4 to 5 months of 90+ degree weather.
We know that not everyone is a fan of these higher temps. It’s hot (like really hot) ... we feel you. So today we are sharing a quick and easy recipe that will make summertime, a whole lot sweeter – salted peanut butter and honey ice cream sandwiches.
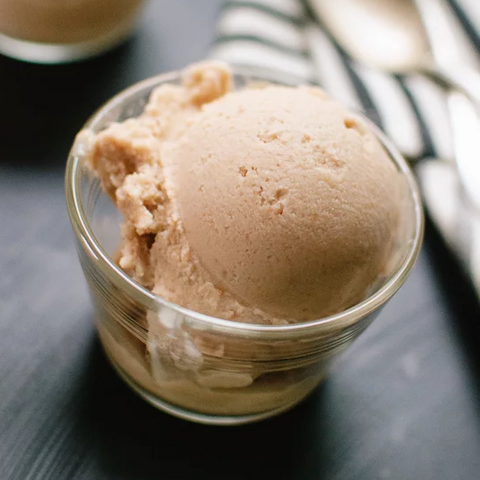
Creamy, salty, sweet and quick – these treats are the perfect way to cool down at the end of a long day.
*Chef’s Notes: You’ll want to cut the amount of salt shown in the ingredients below if the peanut butter you are using is already salted. Also good to note, for the best results, be sure to put the bowl of your ice cream maker in the freezer the day before you make these!
INGREDIENTS:
2 cans coconut milk (28 ounces total), either 2 cans full fat or 1 can full fat and 1 can light
1 ½ teaspoons arrowroot starch (optional), whisked with a few tablespoons of the coconut milk mixture
Dash ground cayenne pepper (optional)
1 package of your favorite frozen waffles
DIRECTIONS:
In a big, heavy-bottomed pot, combine the coconut milk, honey, peanut butter, vanilla and salt. Bring the mixture to a simmer over medium-high heat and make sure to whisk often to prevent scorching.
By now, the mixture should be all blended together. If it’s not, whisk vigorously until it is. If you are NOT using arrowroot starch, you can take the pot off the heat. If you ARE using arrowroot starch, transfer a few tablespoons of the ice cream mixture to a small bowl. Add the arrowroot starch to the bowl and whisk to get out all of the lumps. Pour the mixture into the pot and gently simmer for 1 minute, whisking frequently. Remove the pot from heat
Transfer the mixture to a heat-safe mixing bowl to aid the cooling process. Let the mixture cool to room temperature, then place the bowl in the refrigerator until the mixture is completely and thoroughly chilled. If your future ice cream container is made of glass or metal, place it in the freezer to chill.
If you used arrowroot starch, scoop off the thickened top layer with a spoon (if there is one) and discard it. Whisk together the chilled mixture one last time, then pour it into your ice cream maker. Freeze according to your manufacturer’s instructions, then transfer it to your chilled container and freeze for several hours in the freezer.
If you used 1 can light coconut milk, you might need to let the ice cream rest at room temperature for 5 minutes before scooping. We know its hard to resist but it’s worth it!
And last but not least, pull your waffles out of the package and toast until they are nice and crispy. Top one waffle with a scoop of your ice cream and then top with the other waffle. Enjoy!